
For some inspiration, here are 9 ways to mount your Motorcycle LED Headlight
- Using Factory headlight brackets
- Fork mounted
- Bottom mount off bottom triple clamp
- Side mount off bottom triple clamp
- Top mount off triple clamp
- Integrated dash brackets
- Twin vertical mounts
- Scrambler plate mount
- Front fairing mount
LED Motorcycle Headlights are a hugely popular modification for most motorcycle enthusiasts. If you’re wanting less power consumption, more light output and a modern look you simply cannot go past an LED headlight.
No matter what style of bike you’re building there’s an LED headlight to suit it. Purpose Built Moto has been making LED headlights since our very early days. Which means we’ve mounted hundreds of them on just about any style of bike imaginable. Café Racers, Bobbers, Scramblers, Choppers, Trackers we’ve had to find creative ways to mount LED headlights on a lot of different applications.
Now what good is knowledge if you don’t share it? This article will take you through 9 different ways we’ve learned to mount LED headlights on a motorcycle. You can take what we show you here and copy it, or use it to inspire your own ideas. All it takes is a few tools and a little creativity and no matter what you’re riding you can find the perfect LED headlight solution for your bike.
Before we get started let’s go over some basics of the Purpose Built Moto LED Headlight Range.
Standard Headlight sizes:
7” LED headlight – Best suited to larger café racers, modern street fighters, and Cruisers. The 7” headlight is the most common manufacturer size across nearly all brands with retro/classic models. Definitely our best selling headlight, due to its adaptability and ease of mounting as it suits a lot of OEM factory headlight mounts on different bikes.
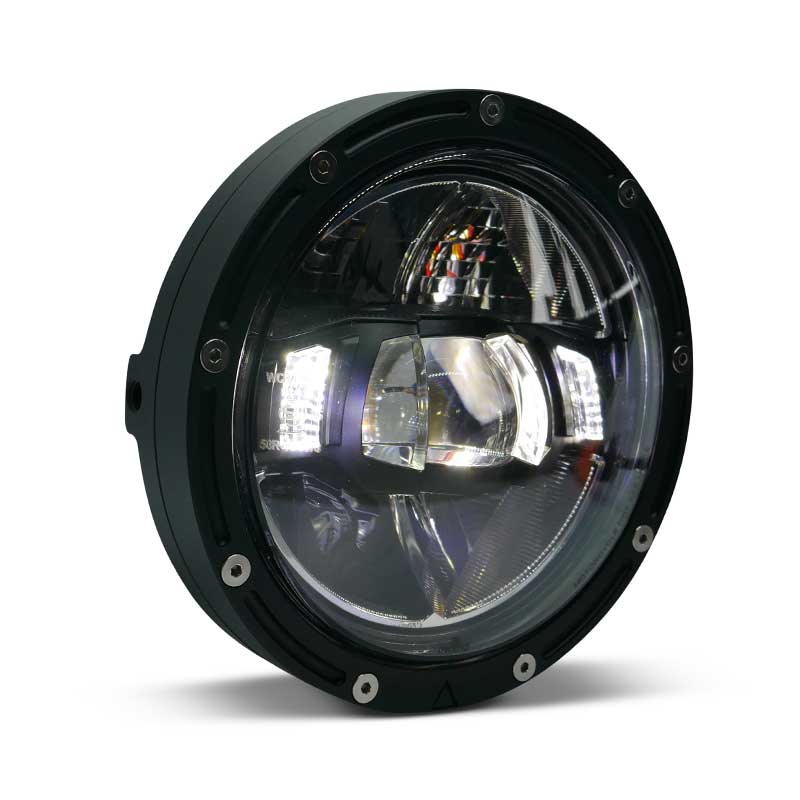
PBM offers 2 types of 7” LED headlight.
7” Flashpoint featuring an industrial design face with prominent fixing screws
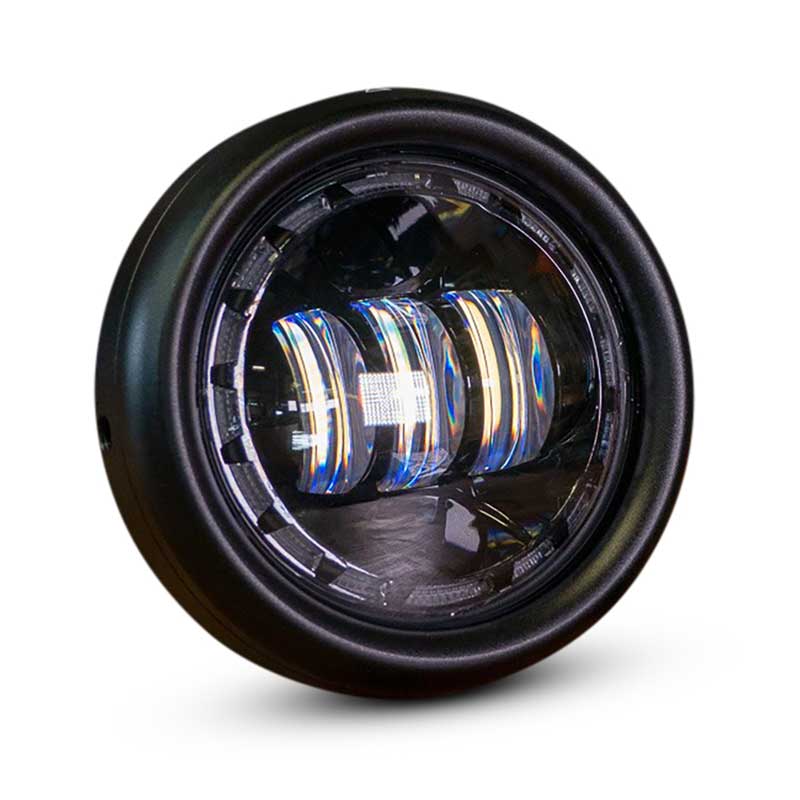
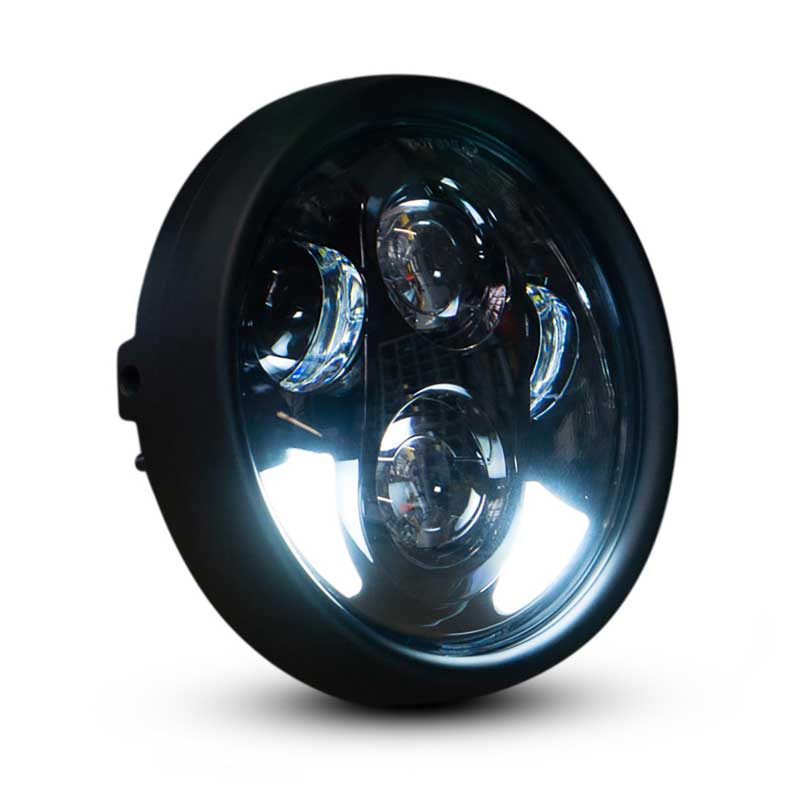
7” Flashpoint Classic as the name suggests a more classic style achieved with a smooth CNC machined rounded headlight bezel
5.75” LED headlight – I love this size mounted on a more modern and sharp café racer or scrambler. A smaller diameter with just as much light output, letting you achieve a more streamlined and minimal look for your chosen custom bike. The 5.75” size also looks great on a number of cruiser models taking on the bobber style set particularly the Harley Sportster looks great with the 5.75” size mounted up nice and close to the forks.
5.75” Flashpoint featuring an industrial design face with prominent fixing screws
5.75” Flashpoint Classic, a more classic style achieved with a smooth CNC machined rounded headlight bezel. The 5.75” in a classic headlight is probably my favourite in the range and so versatile.
4.5” LED headlight– I released this headlight in 2018 as a bit of a tester, it is far from a popular and standard size, but I’ve found myself using these more and more. The small diameter makes them so useful in a lot of dual headlight situations. Whether stacking 2 vertically or using the 4.5” in conjunction with a smaller spotlight on a scrambler set up. The 4.5” are proving to be a great tool for the creative fabricator and those who want something exceptionally different.
If you want more info on specific models or sizes, including a handy FAQ section and headlight diameters and measurements check out the product descriptions.
For wiring diagrams and connection, advice take a look at this blog on installing an LED headlight.
I’ll mention one last thing here that applies for any headlight swap. PBM LED headlights do not require a headlight bucket. They are a stand-alone unit and made weatherproof. This means on a lot of motorcycles it’s simply a matter of removing the old headlight and bucket, bolting the new LED unit in and connecting the wires.
One issue that you may run into is the factory headlight having cables and plugs inside when you remove it. The 2 simplest ways around this issue are:
- Mark and unplug any connections, re-route the cables to situate to cables and joins up underneath the fuel tank, and reconnect the cables. Tie them up neatly and your job is done. You now have a mess-free headlight section. This can be achieved on nearly all bikes.
- If you can’t re-route the cables on your bike, the next easiest option is to rearrange the plugs to sit behind the headlight and use a cable shroud to protect them from the weather. These can be purchased from auto stores, or you can use a large size heat shrink sleeve to get the desired result.
So let’s get into mounting these things on your bike. I have to say as far as fabrication goes I love mounting headlights, especially on our full-scale custom builds. Planning out and executing a simple, clean and functional headlight mount is really rewarding, and can be a real showpiece of your build.
So here’s a few ways we do it in the Purpose Built Moto garage.
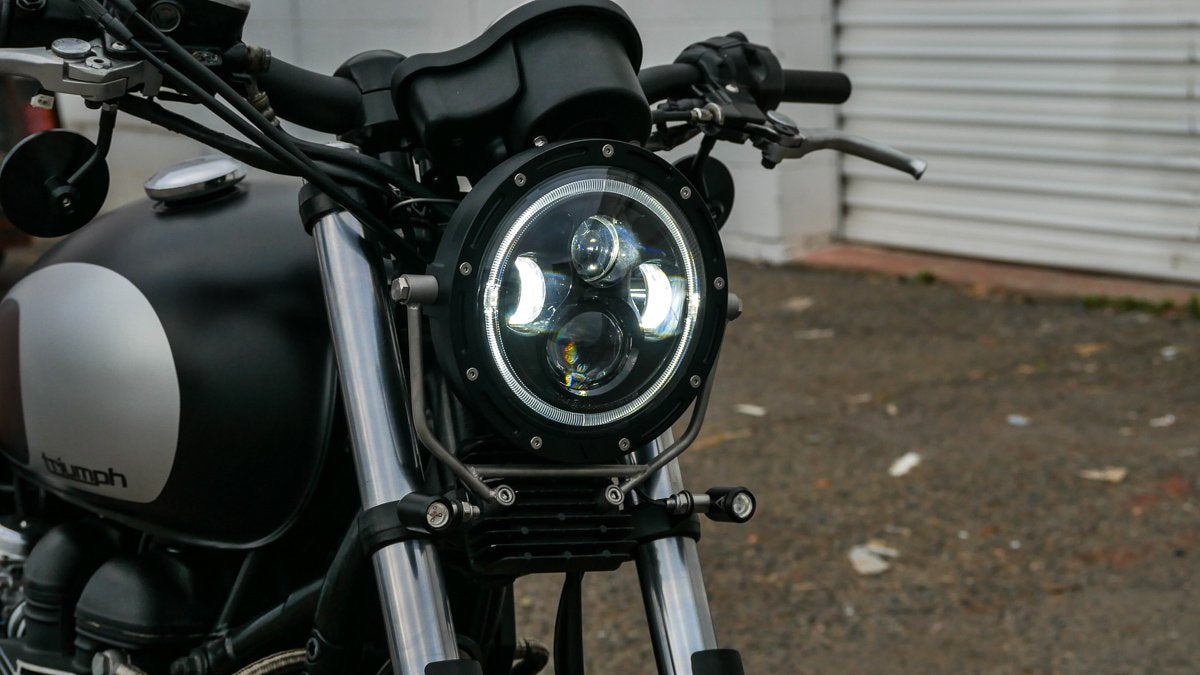
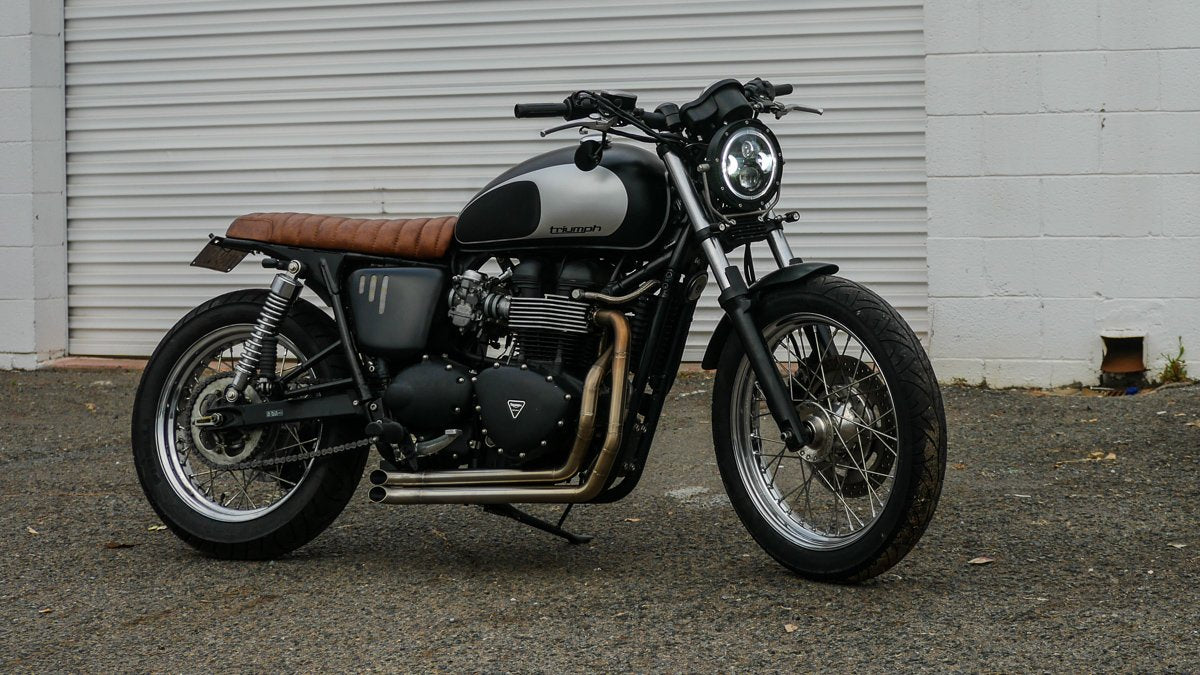
1. Mounting your LED headlight with Factory brackets.
As mentioned above the 7” LED Headlight has a lot of easily interchangeable OEM applications across many bike models. Triumph Bonneville + Scrambler ranges, Yamaha XSR700 and XSR900, Ducati GT1000 Sport Classic, Yamaha SR400 and SR500, Suzuki GN250 or TU250X to name a few.

The first step here is to measure the distance between your headlight mounts. Cross-reference this with the info in the headlight product description and if you are within 20-30mm usually you’re ready to go!
Generally, there’s a fair bit of tolerance here because the factory mounts are often slightly adjustable. Depending on your model and how the mounts are made you can even mount a 5.75” LED Headlightin place of the OEM 7” headlight on some models.If you’ve decided to use the factory mounts after measuring, get your tools out and start removing the old headlight. Once complete, fit up the new headlight using the bolts provided and wire it into the bikes existing headlight wiring.
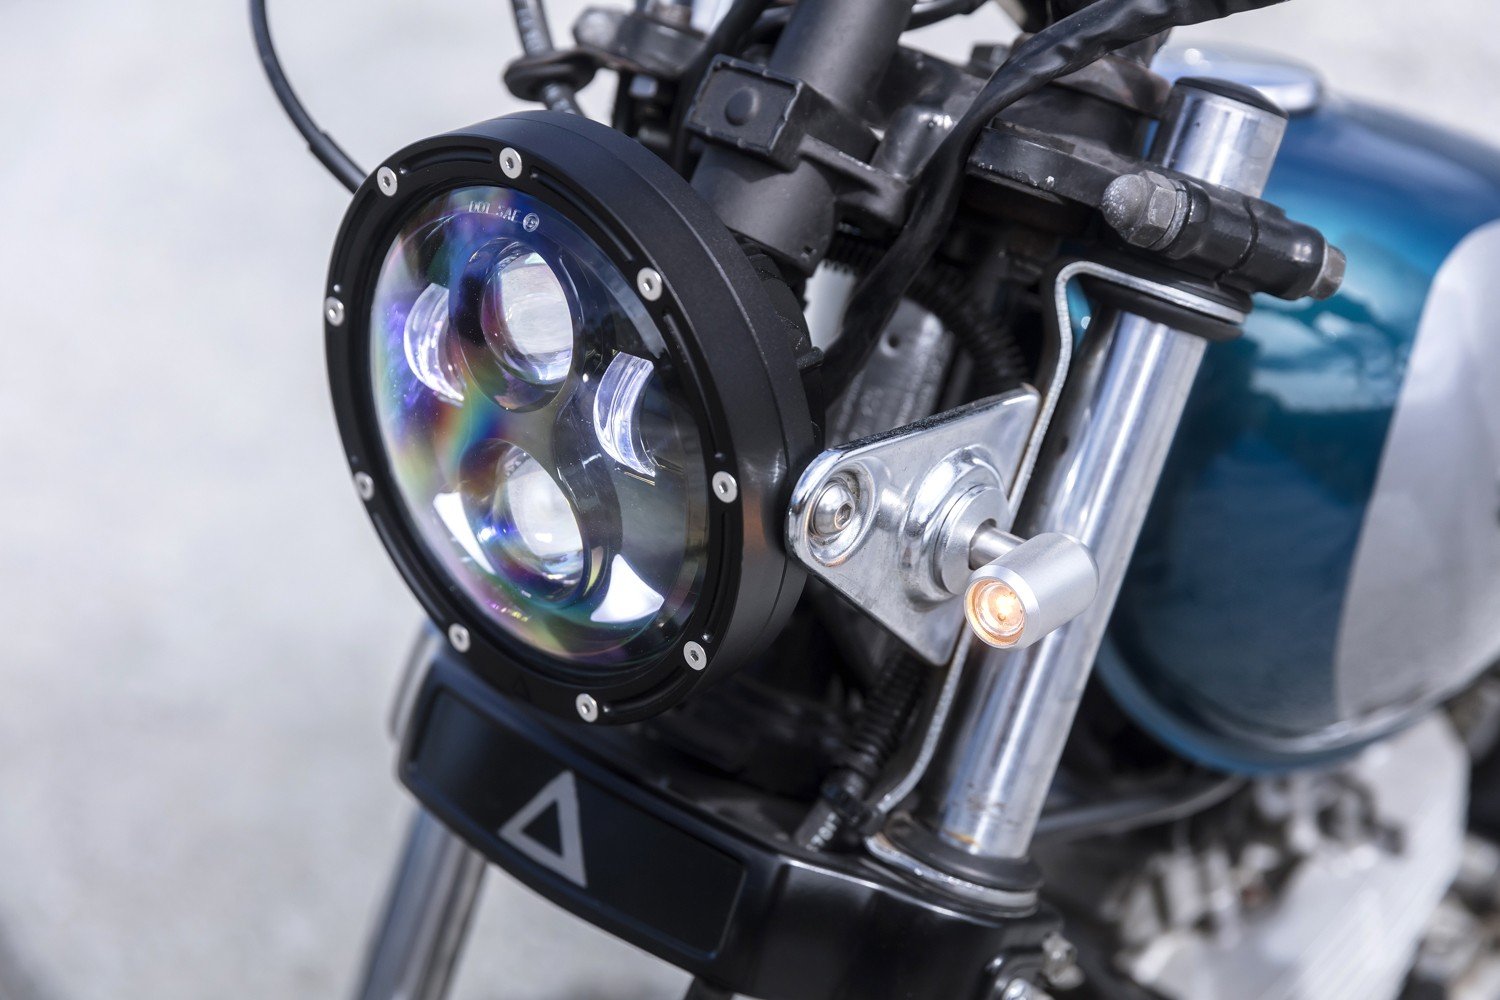
2. Fork mounted LED headlight
This is one that admittedly I don’t often use. There is a sea of aftermarket brackets out there for all sizes of forks. If you want to go this route, all you need to measure is your fork diameter between the triple clamps and go shopping.
These aftermarket headlight mounts range from dirt cheap, right through to CNC billet works of art that you’ll have to sell your bike to pay for. But then you won’t need the mounts, but you won’t have a bike…. So maybe sell your car instead. Yeah.
Anyway, I’ll often purchase a fork mount clamp, and use half of it so I can make something of my own. Here’s an example of a recent CX500 build we did.
If you’re handy on the tools and want to make your own, it can be as simple as purchasing some tube that fits over the fork tubes, sliding that over and fabricating a triangulated bracket off of that. The only note with this is to make sure its mounted so as not to rattle on your fork tubes, use a form of bushing for the tube.
Either way, you go about fork mounting your LED Headlight just take care that you can get the right beam angle and use the same methods mentioned above to deal with any factory wiring that may get in your way.
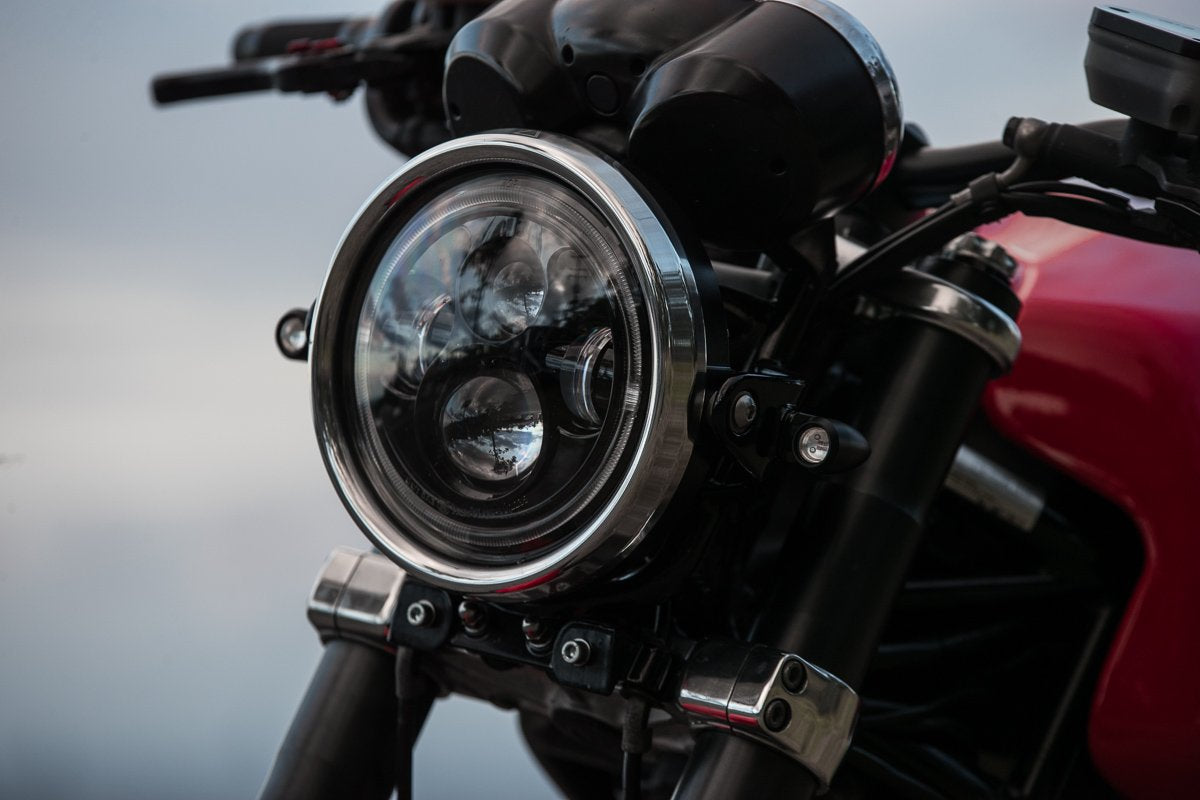
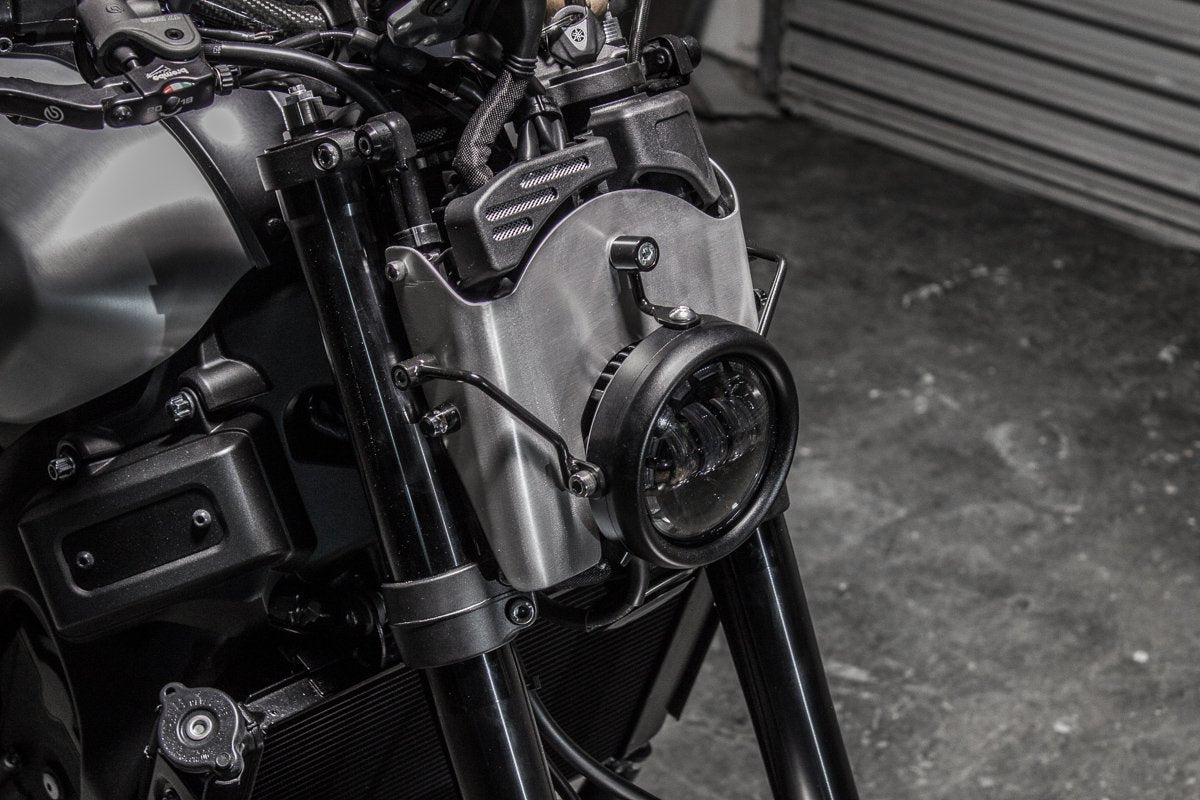
3. Bottom mounted LED headlight – using mounts off the bottom triple clamp
All of the PBM LED Motorcycle Headlight Range comes with 3 mounting points machined into the bezel, two on the sides and one located on the bottom. This method uses the single bottom mount and can achieve a super clean look and even allow the side mount threads to house some LED indicators.
A lot of motorcycles will have threads machined into the bottom triple clamps for mounting various accessories. If you decide these mounts are sturdy enough to house your headlight, this mounting style can be easy, quick and give a really clean result.
Using the mounts on the triple clamp, I will use a few fabrication slugs M6 or M8, fixing them in place, from these points a section of round bar, or flat plate can be bent, cut and welded in place to get your LED headlight mounted where you like. It’s a good idea to fabricate a stopper if using the single bottom mount to strop the headlight from swiveling under vibration. It’s not necessary but a good practice all the same.
Our CX500 signature series build used this method and you would never notice the mount was there.
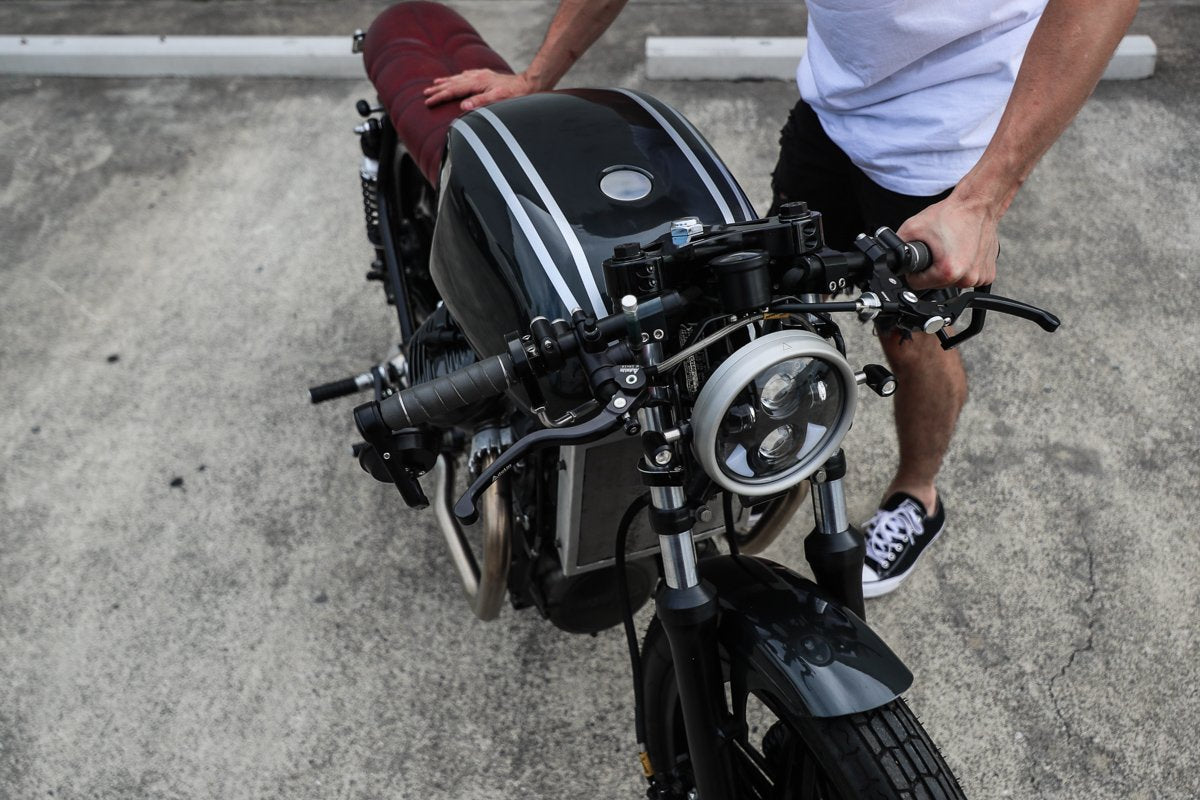
4. Side-mounted LED headlight – using the bottom triple clamp.
Much like the mounting method mentioned above, this uses mounting points on the bottom triple clamp to create a bracket that links up with the sides of the headlight. Allowing the headlight to be more easily adjusted up and down, but is a little harder to fabricate.
Materials we use are generally a few stainless fabrication slugs, and a bit of round bar and flat plate. Get creative and use your head with this one. Here’s some inspo of a late model Triumph Bonneville we mounted a 7” LED Flashpoint up to.
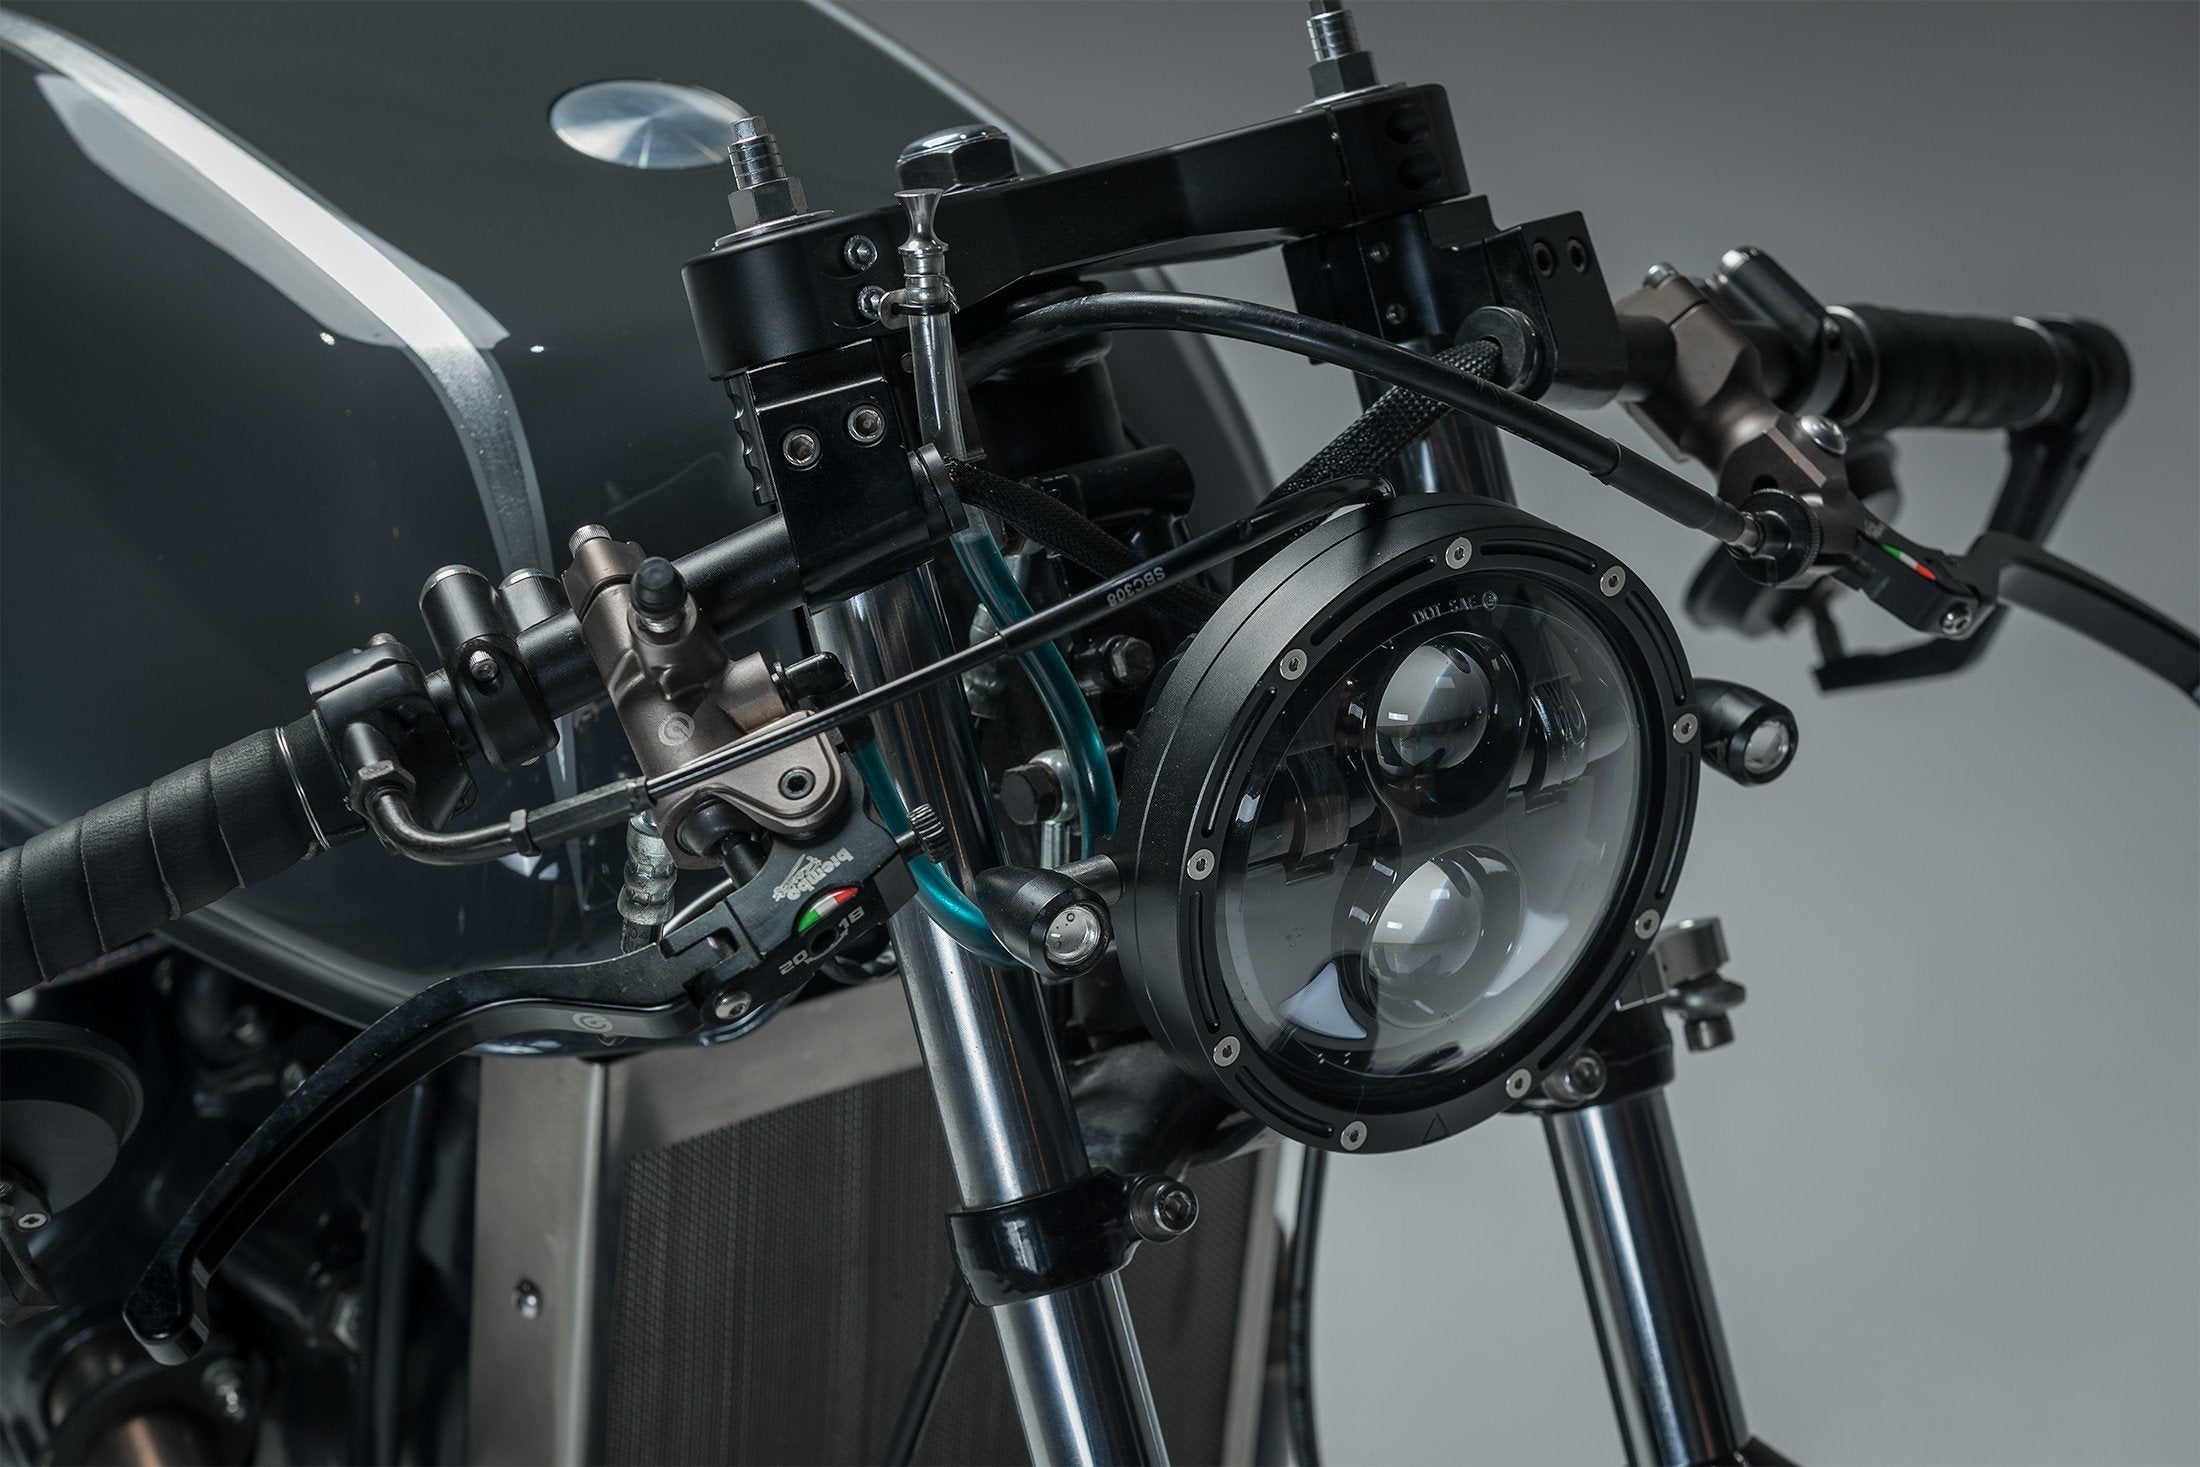
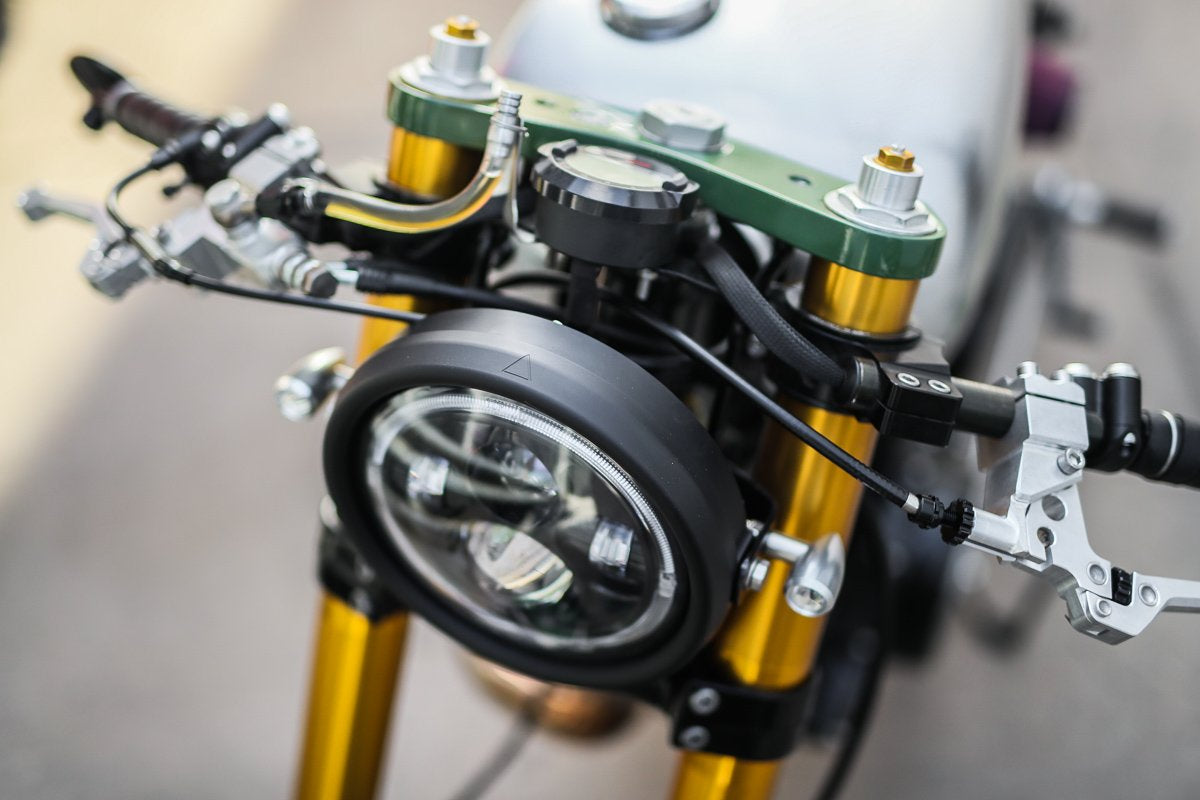
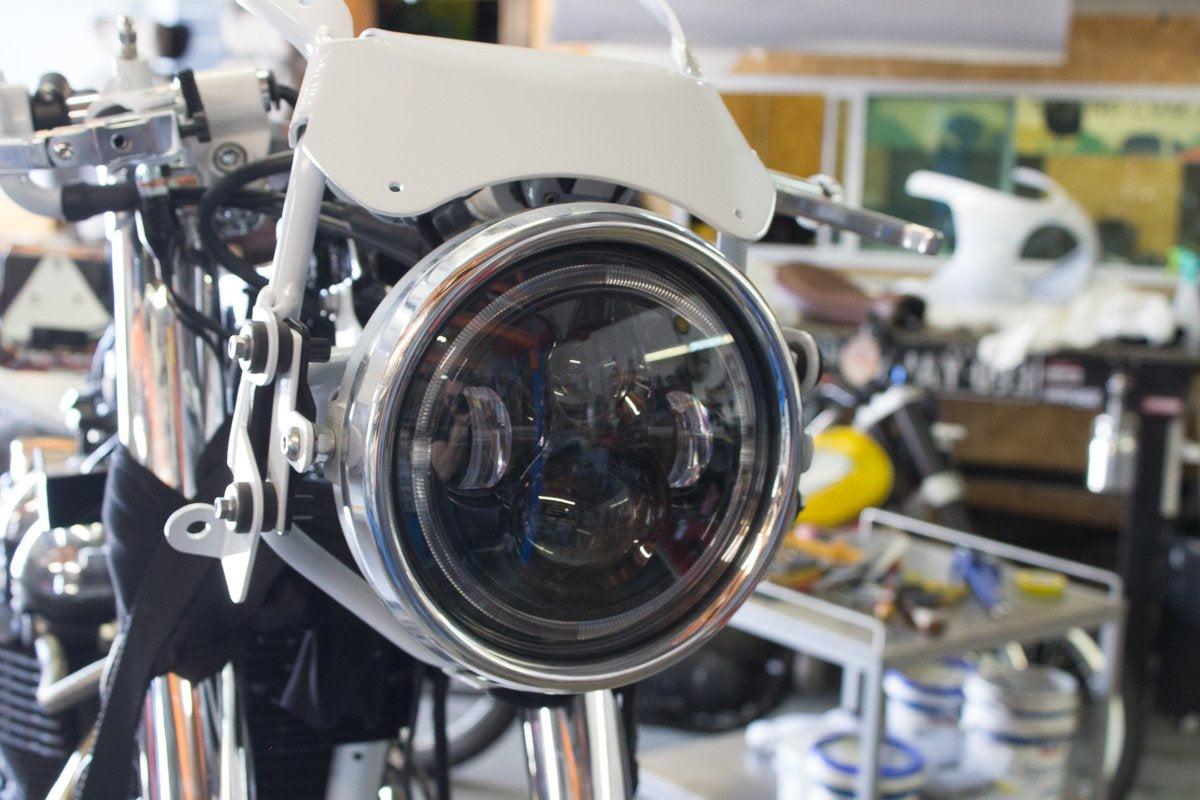
5. Side-mounted LED headlight using the top triple clamp
Take the last mounting option and flip it upside down. This style normally utilises mount points originally intended for the speedo and dash cluster. The Dash can stay mounted there, but we will get some longer bolts, add some fabrication slugs and get shaping with some round bar to go from the top triple clamp, down to either side of the headlight.
You can use sweeping bends, and sharp angles depending on your style, but the method stays the same. Once you’ve got it all lined up, tack you bracket together, weld er up and finish it how you like. One of my favourite ever headlight mounts uses this style built on a Ducati GT1000. A simple and super clean outcome where the headlight is fixed from the sides using our LED Hollow Tip indicators.
6. Integrated LED headlight + Dash mounts
This next one is pretty fabrication heavy, but done right can be an awesome solution for everything on the front of the bike. Making a single bracket assembly to house the headlight, turn signals, speedo and dash lights. It can be tricky to get it all right but the pay off is well worth it for the right bike.
When doing this I’ll take mounts from both the top triple clamp and bottom. Fixing the mounting plates in place first then bending up a bar design to work. Having ‘rails’ run down behind the headlight. From the rails I’ll weld on a few brackets and slugs that reach out to mount the headlight, and turn signals. Then across the top between the top clamp and top of the headlight mount a plate that the Speedo and dash will fix to.
This was used on the Manga inspired XV750 café racer build. It allowed the headlight to be mounted super close to the forks, and house the brackets for everything else we needed to mount up there too.
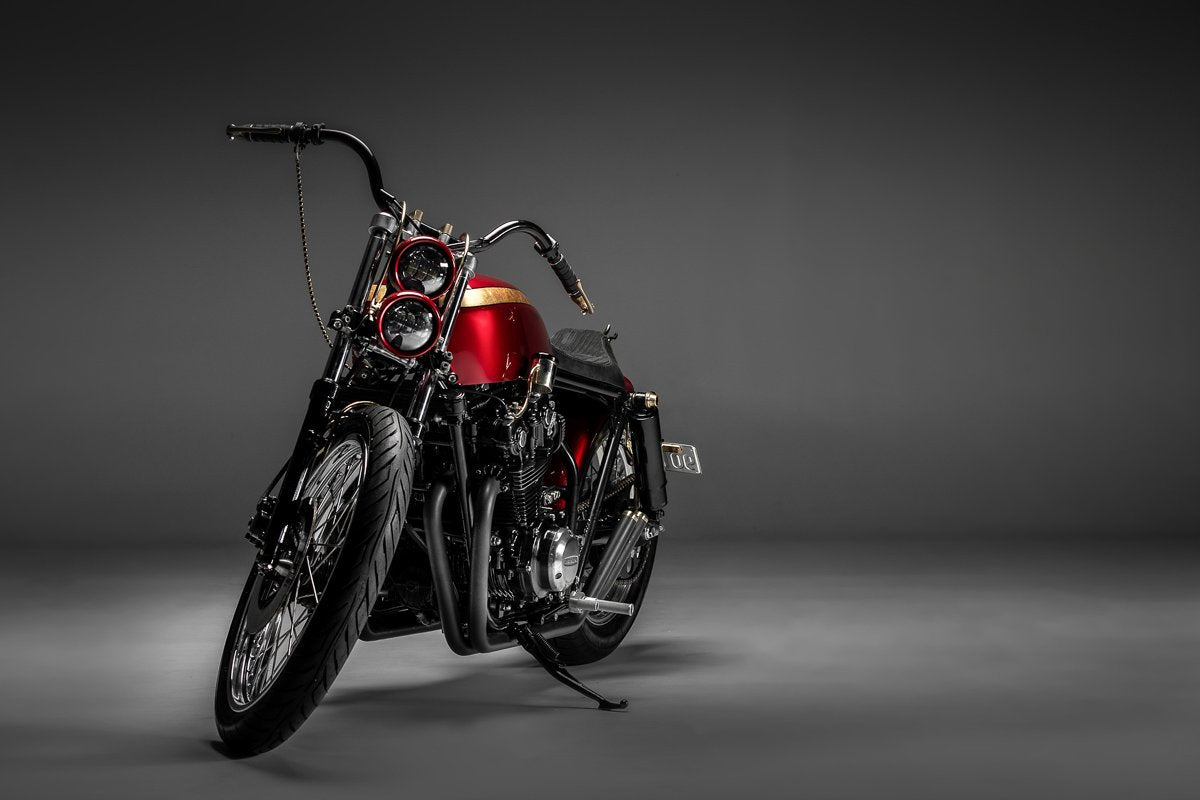
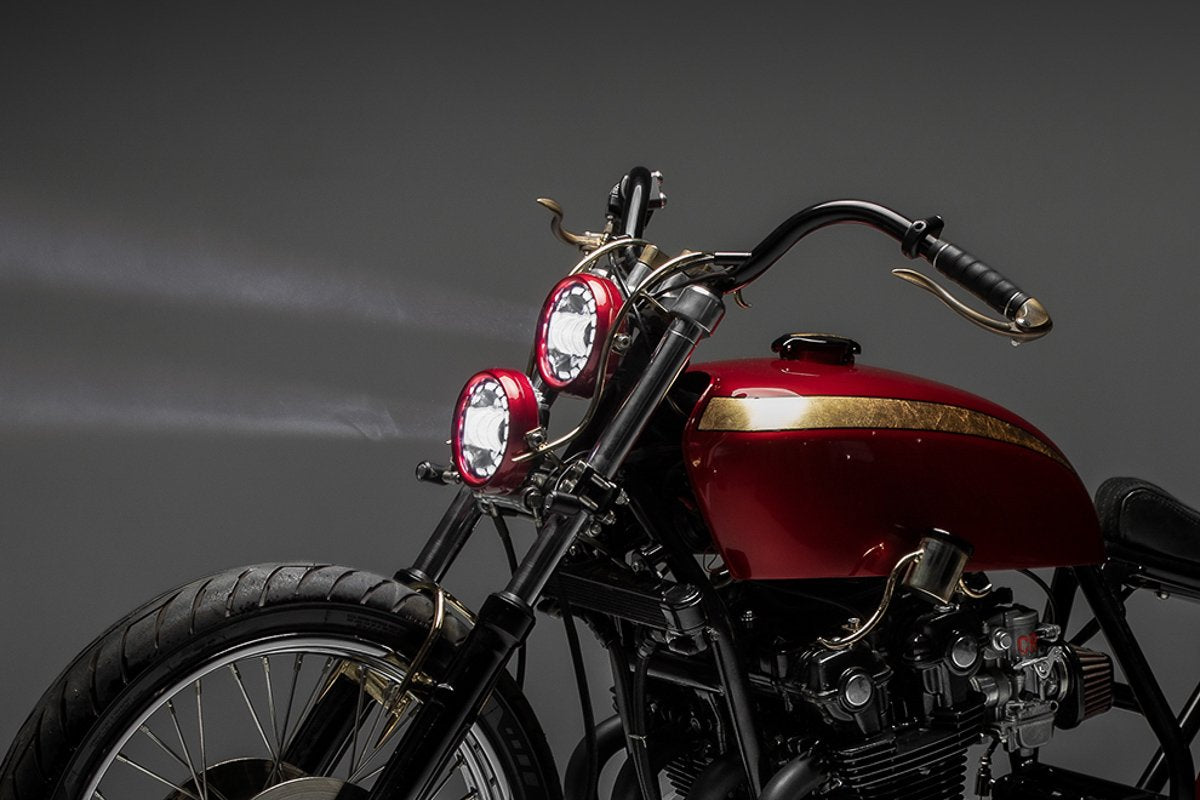
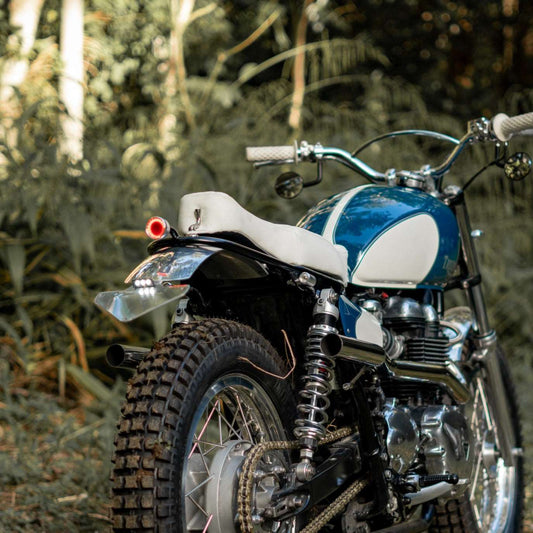
7. Twin vertical headlight mounts
This one is for the Chopper and bobber boys, although I’ve only used it once on my Honda CB900 chopper build. It’s a favourite for guys stepping outside the box. More suited to the 4.5” LED Headlight size, although you could mount the larger sizes it may get a bit too much.
On the CB900 custom build, I used mounting plates both on the top and bottom clamps, and linked them on either side with a flowing round bar design that reached up and over the bar clamps. A really ornate design for no other reason than I liked the idea of it.
Using this design gives you a heap of light output, and keeps the profile amazingly thin on your front section. I’m just looking for an excuse to use this style again!
8. Scrambler LED light plate mount
The further down this list we go, the more difficult it gets in terms of fabrication.
The Scrambler light plate is an awesome addition to any off-road styled custom but can be pretty labour intensive, especially if you want to make it really nice. When mounting an LED Motorcycle Headlight to a scrambler light plate or grill I normally take one of two approaches.
1. Mounting the lights onto the headlight plate, this means if you remove the headlight plate, the lights come with it and you’ll need to unplug them. The example below is from a Sol Invictus scrambler built for Wide of the Mark adventure film. I took the 4.5” LED Headlight and welded the rear section of the bezel into the aluminium plate. The trick here is to mock up the headlight and make sure it’s not pointing into the sky. You need to get the angle right.
2. Having the LED headlight mounted separately to the plate. This makes the plate removable but the headlight stays in place. When using this method of scrambler headlight I make a bracket similar to the one described in Number 6 to hold the lighting then fabricate, cut out and mount the plate on the front. This process is a little easier I’ve found and can allow the light to be more easily adjustable. Check out the Harley Sportster Scrambler headlights for an example.
As a bonus, here’s a weird idea I had for an XSR900 LED Headlight Conversion, with brackets built off the headlight plate.

9. Front fairing-mounted LED headlight
This one can be very easy, or really time-consuming. Easy if your bike comes from a factory with a 7” or 5.75” Headlight fairing. That task is as easy as removing the old and replacing it with the new LED unit. See steps 1. or 2.
Where it can get tricky is retrofitting a fibreglass fairing kit, and not having any brackets. It seems like a lot at the start to wrap your head around, but taking it step-by-step you’ll be able to fabricate something up to mount the fairing. I suggest you get the fairing-mounted and where you want it, then start figuring out your headlight set up to work with the fairing. This is only something I’ve ever done once, and at the time of writing, I’m about to start again on a bikini fairing for an XS650.

That’s about all I have on mounting an LED Headlight on your motorcycle. Whatever you’re building I’m sure there’s some shred of info in there that you can use, or get motivated by. As always, take your time, think it through and do it right. If you have questions about our headlight range or products check out the FAQ sections on the product pages we’ve stuffed a lot of info in there for you too.
Now get out to your garage and start building.
Tom.
WE BUILD BIKES WITH PURPOSE.
Purpose Built Moto is home for unique custom motorcycle builds. We offer a unique motorcycle customizing experience in the heart of the Gold Coast.

8 comments
Hey Anton,
You can check out our headlight mounting kits here:
https://purposebuiltmoto.com/products/headlight-mounting-kit
you will need to measure your forks.
What bracket/mount would you recommend for the 7” classic on a Vulcan 650S? I have upper folk-covers in place that are actually brackets for a quick-release windscreen (that was stolen). These brackets have threaded holes for mounting bolts that face sideways.
Can you do Chrome. What Dollar currency//country is quoted on your Facebook post? Niff. In NZ
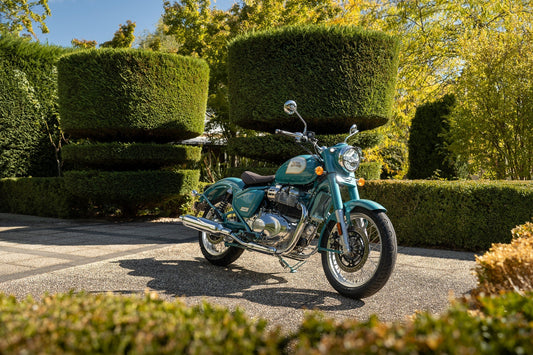
we really like the 7" on the Indian Scouts.
What led light would you recommend for my INDIAN SCOUT 1133cc
Build 2015. Bike colour is Smoke Grey with Gloss Black Strips and tank decals.
Very good info here tom, well done
Happy to hear it Matt!
Thanks mate.